
From Molten Silver to Sparkling Earrings: The Making of the Lily Earrings

Ever wonder how a pair of handmade earrings comes to life? Let me take you behind the scenes of one of my favorite designs: the Lily Earrings. From molten metal to delicate finished piece, it’s a process I love—and I think you’ll find it just as satisfying to watch.
Watch the process:
🔨 Starting from Scratch: Melting and Rolling Silver

I start with raw silver scrap, melt it down, and pour it into a mold to create an ingot. Once cooled, I roll the ingot through a mill until it’s 1mm thick—ready for engraving and cutting. There’s something grounding about starting with a solid chunk of metal and slowly transforming it into something wearable.

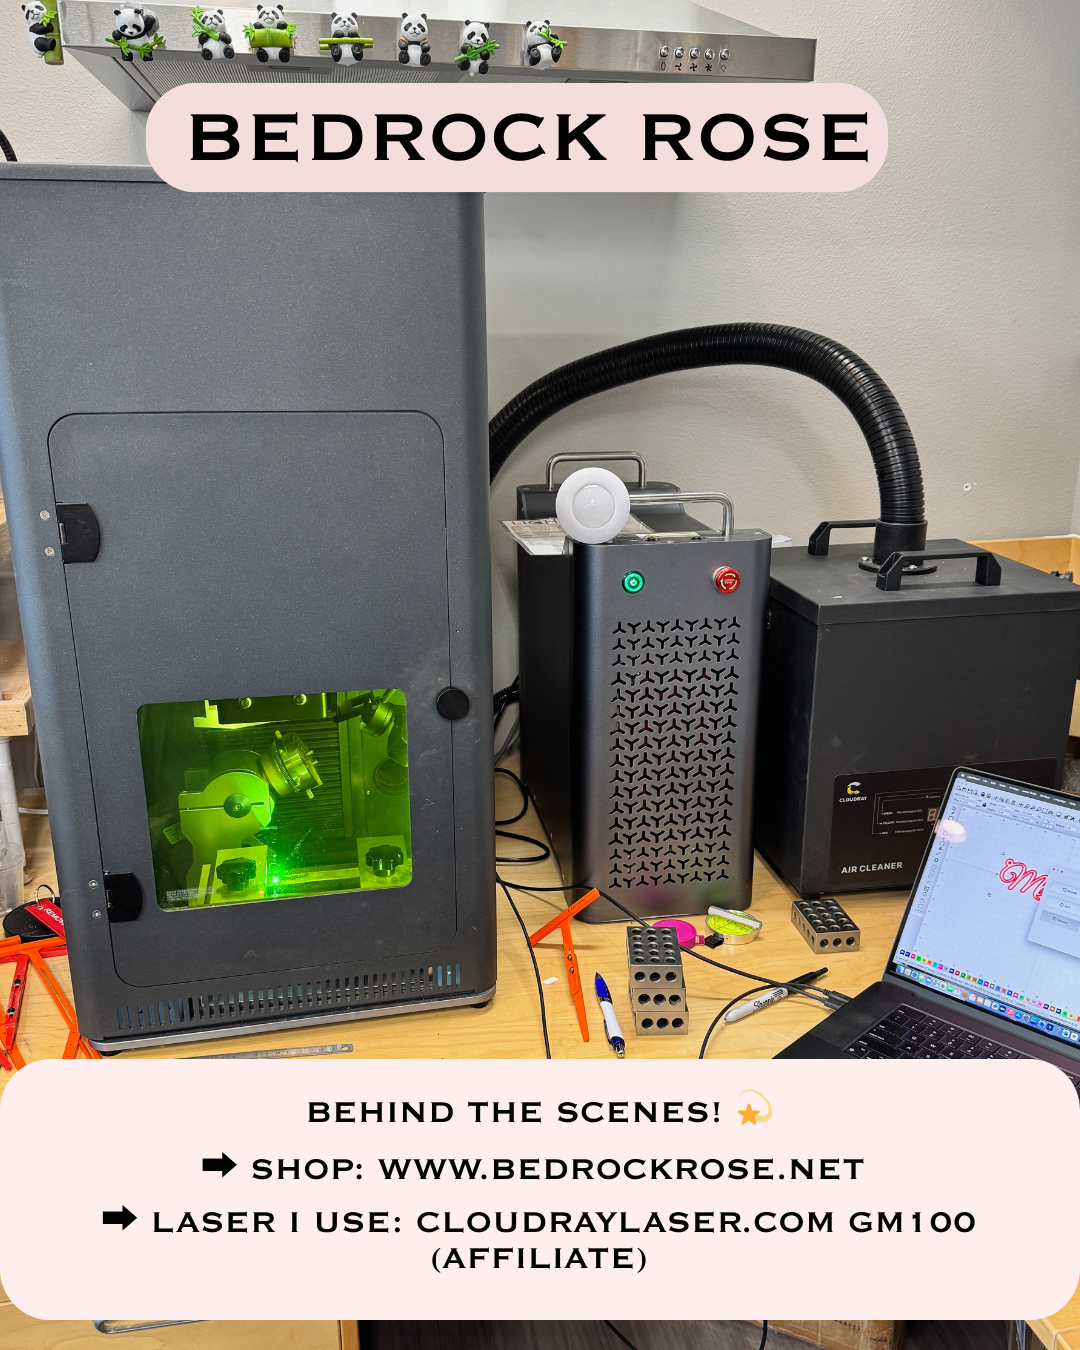
📐 Precision Setup
Once the metal is rolled, I secure it in the laser clamp.

First, the design is engraved—those fine lines you see on the petals—and then the laser cuts the final earring shapes with a clean, smooth edge.

🌀 Into the Magnetic Tumbler
After cutting, the earrings take a spin in my magnetic tumbler, which gently buffs and cleans the surface. I never get tired of watching those tiny stainless pins do their thing.

🔗 Final Assembly
I attach each engraved lily to its matching backplate with a small jump ring. It’s one of my favorite parts of the process—bringing all the steps together into a wearable piece of art.

💫 The Final Look
Here's a quick photo of me wearing the finished earrings—because jewelry deserves to be seen on people, not just on a bench!

💎 Available in Sterling Silver or Gold-Plated Brass
These earrings are available in both options in my shop. Light, elegant, and handmade start to finish.
✨ Want to see more behind-the-scenes jewelry making?
Follow me on Instagram for more process videos, or browse the full collection here.
🛠️ Tools I Love (Affiliate Link)
If you're a maker, I highly recommend the fiber laser I use. It’s from Cloudray, a GM-100, and it’s been a total game-changer for my work. Check it out here.